2.2 Adding Pages
The process of adding pages is quite similar to adding posts:
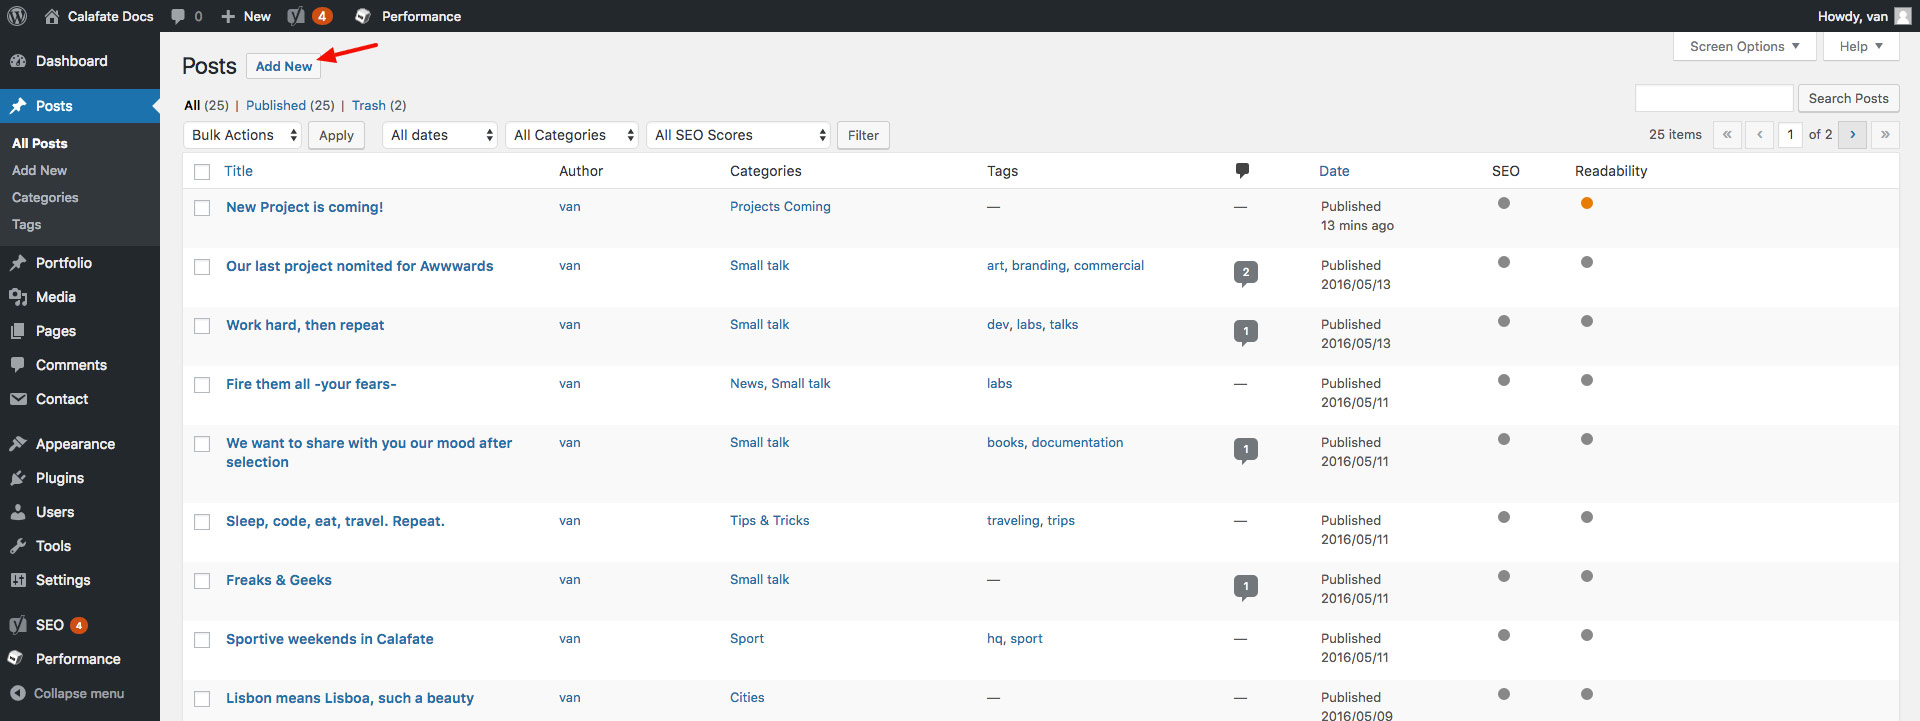
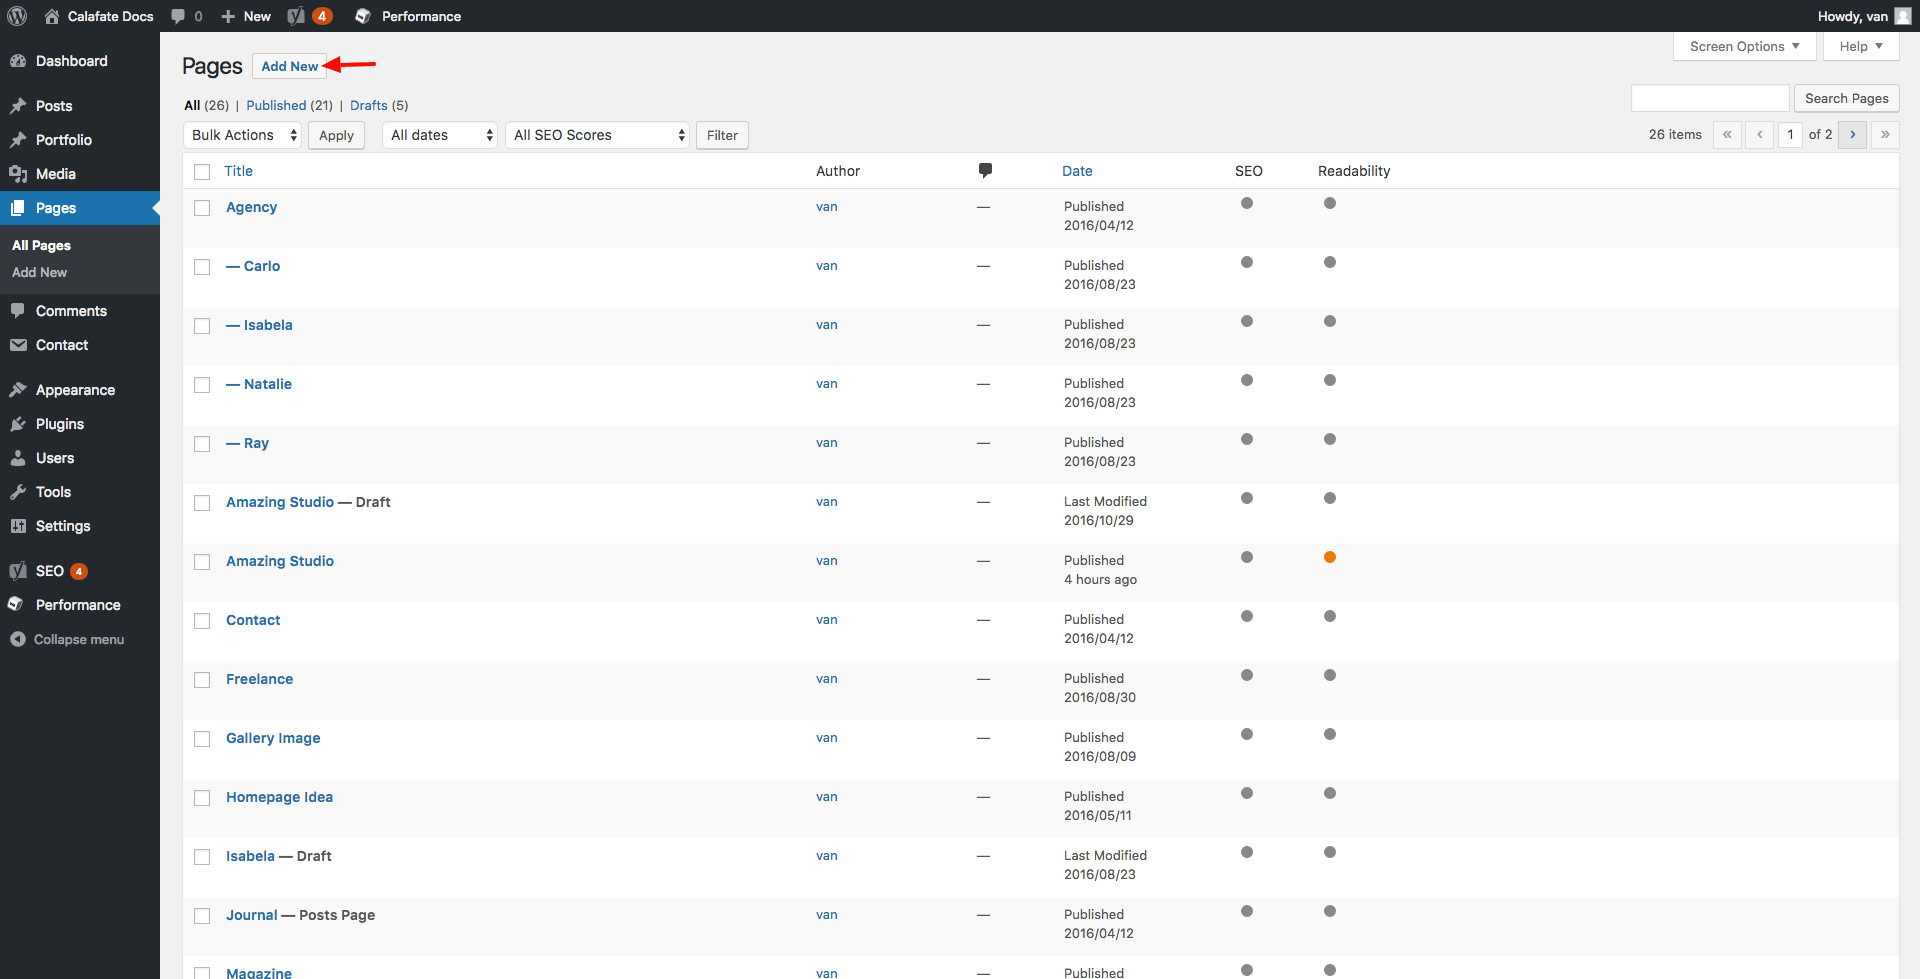
- Go to Pages → Add New
- Enter a title.
- Select a page template or leave the default one
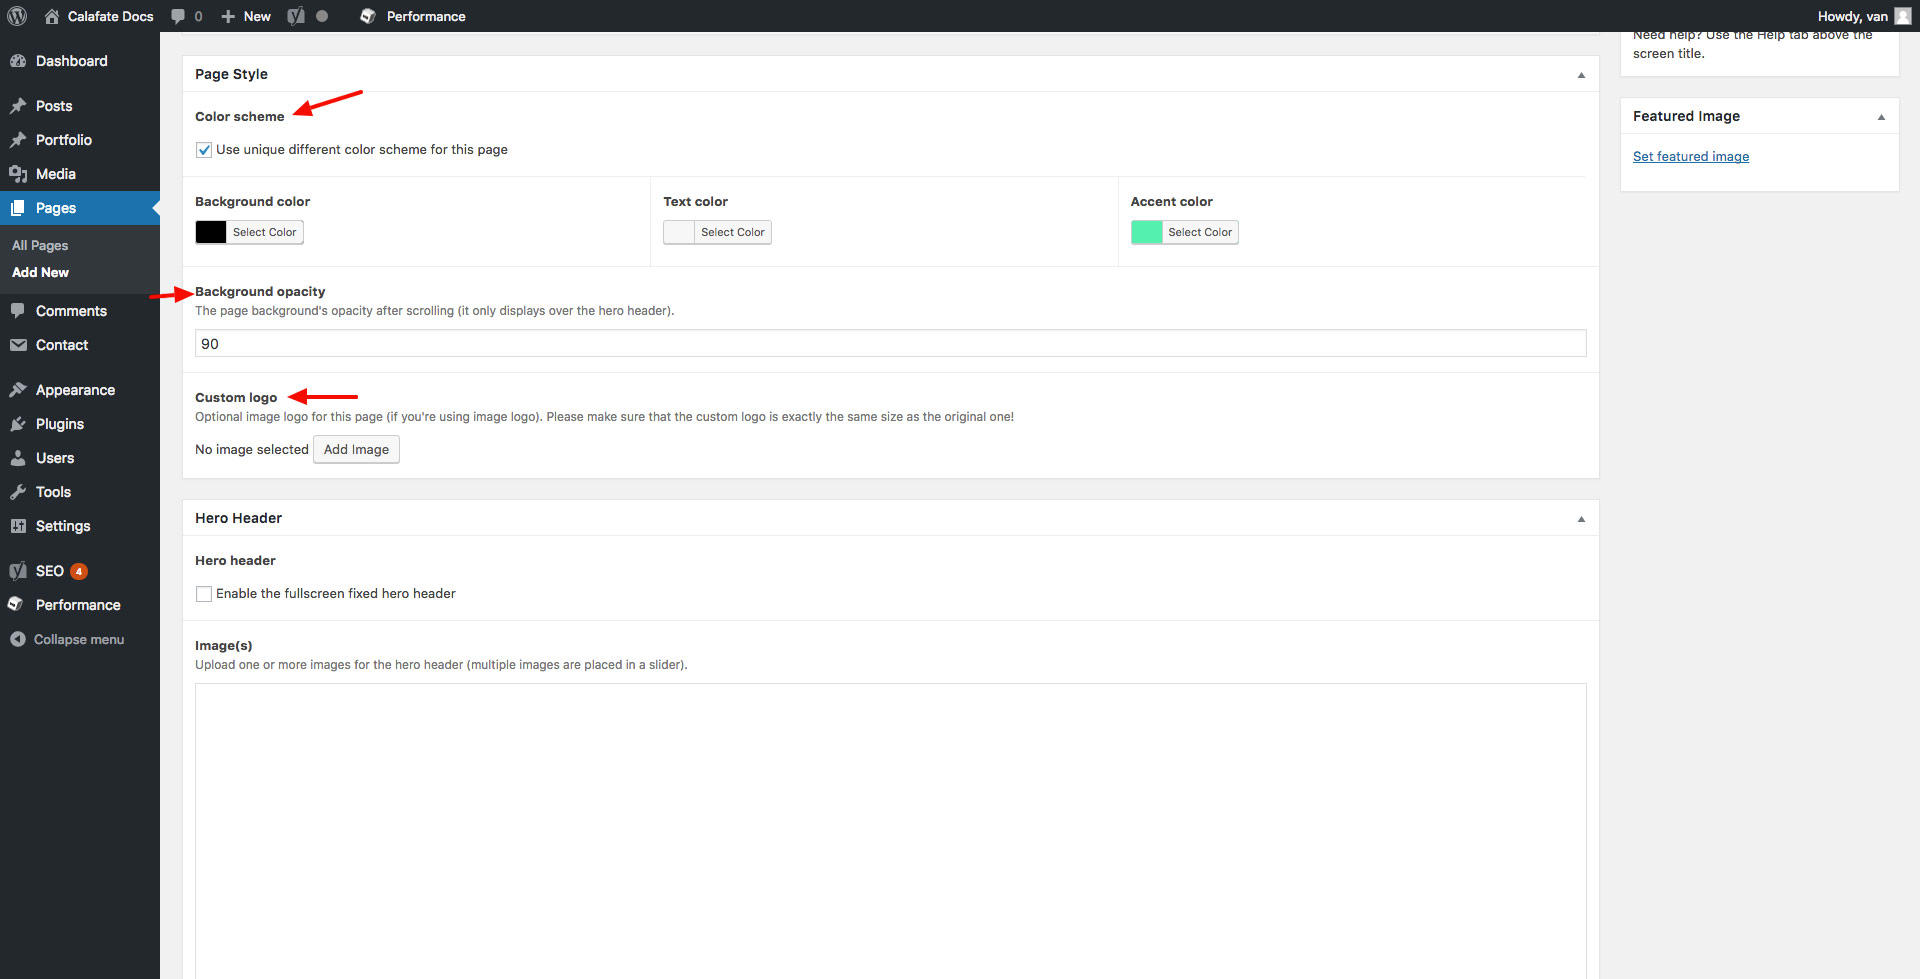
- Setup the page style (optional - info below).
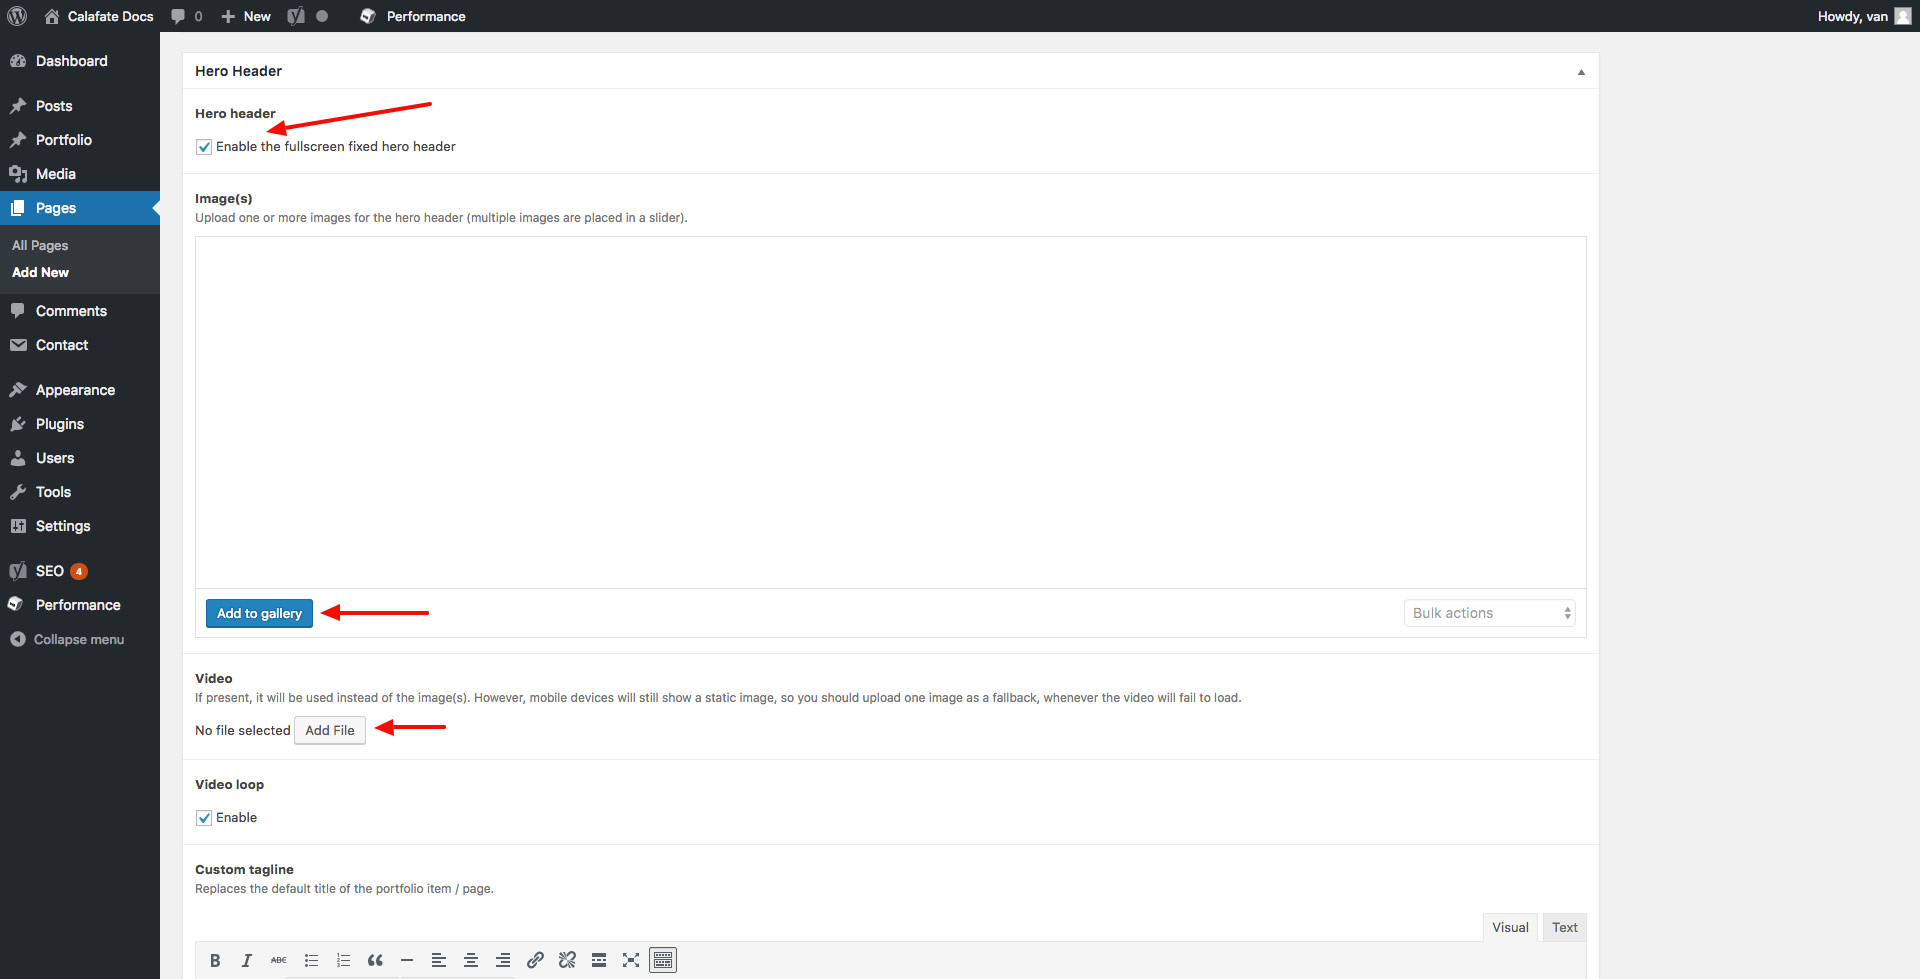
- Setup the hero header (optional - info below).
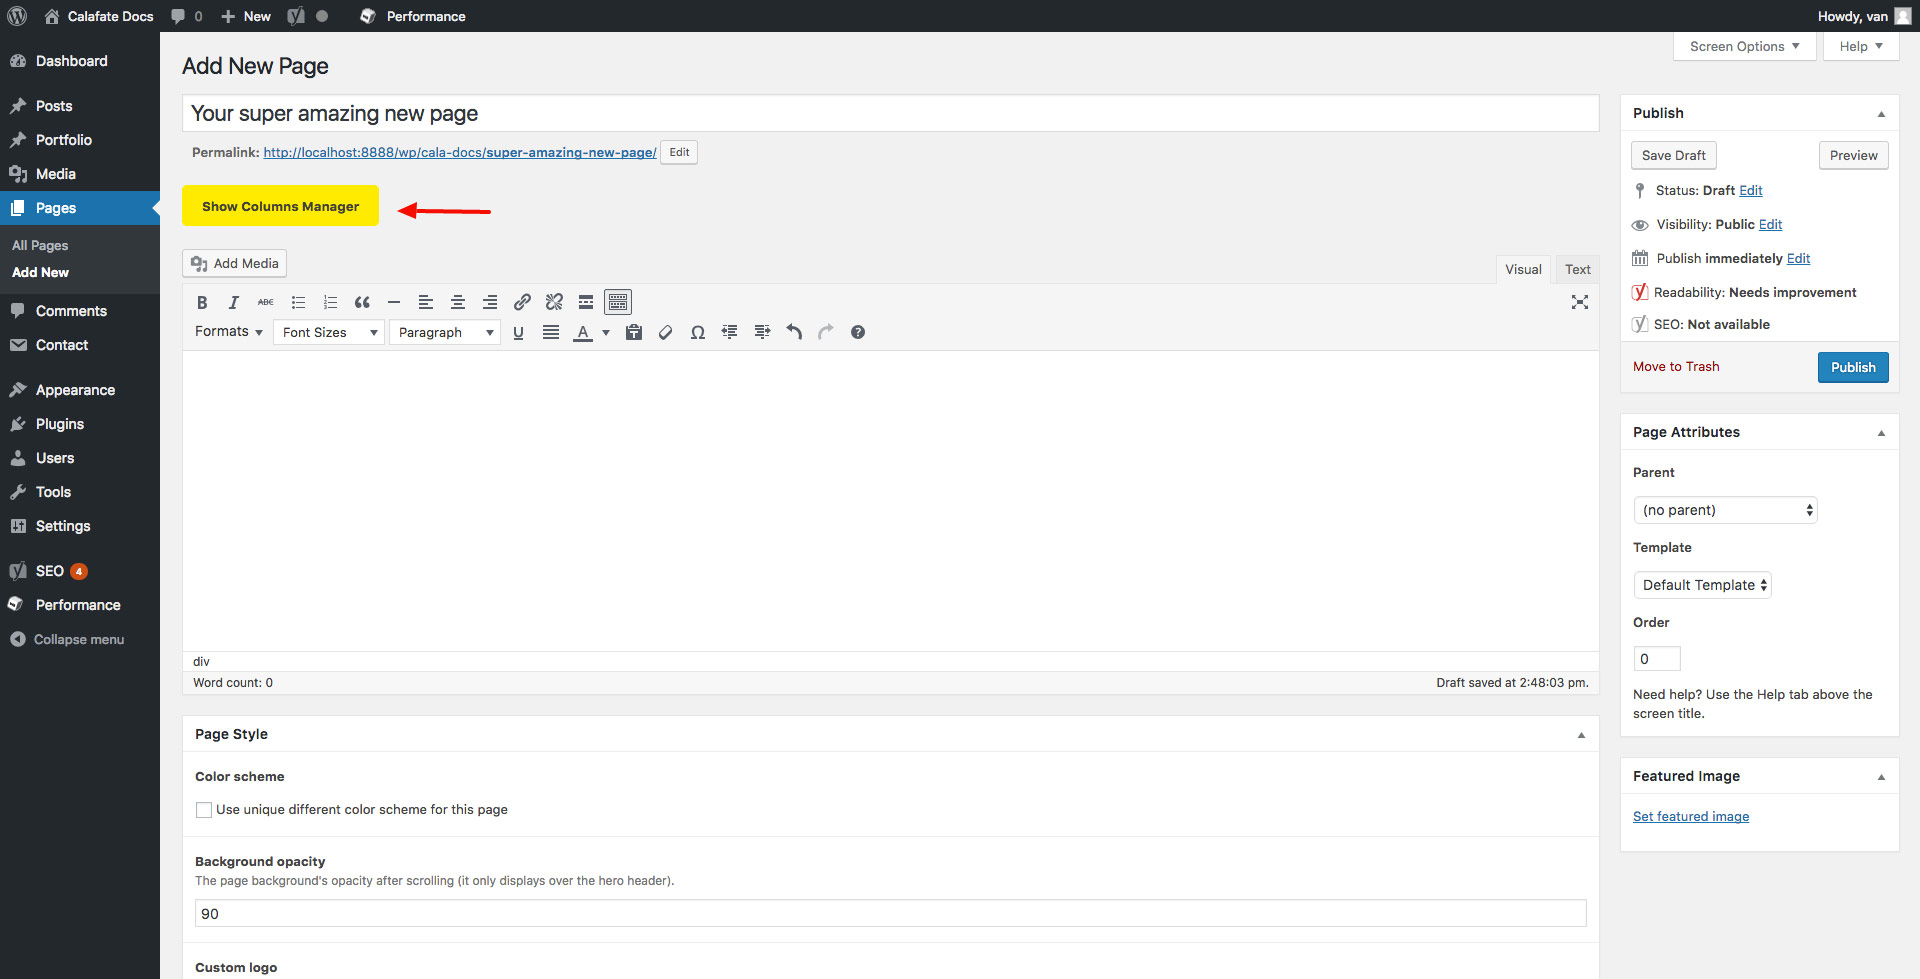
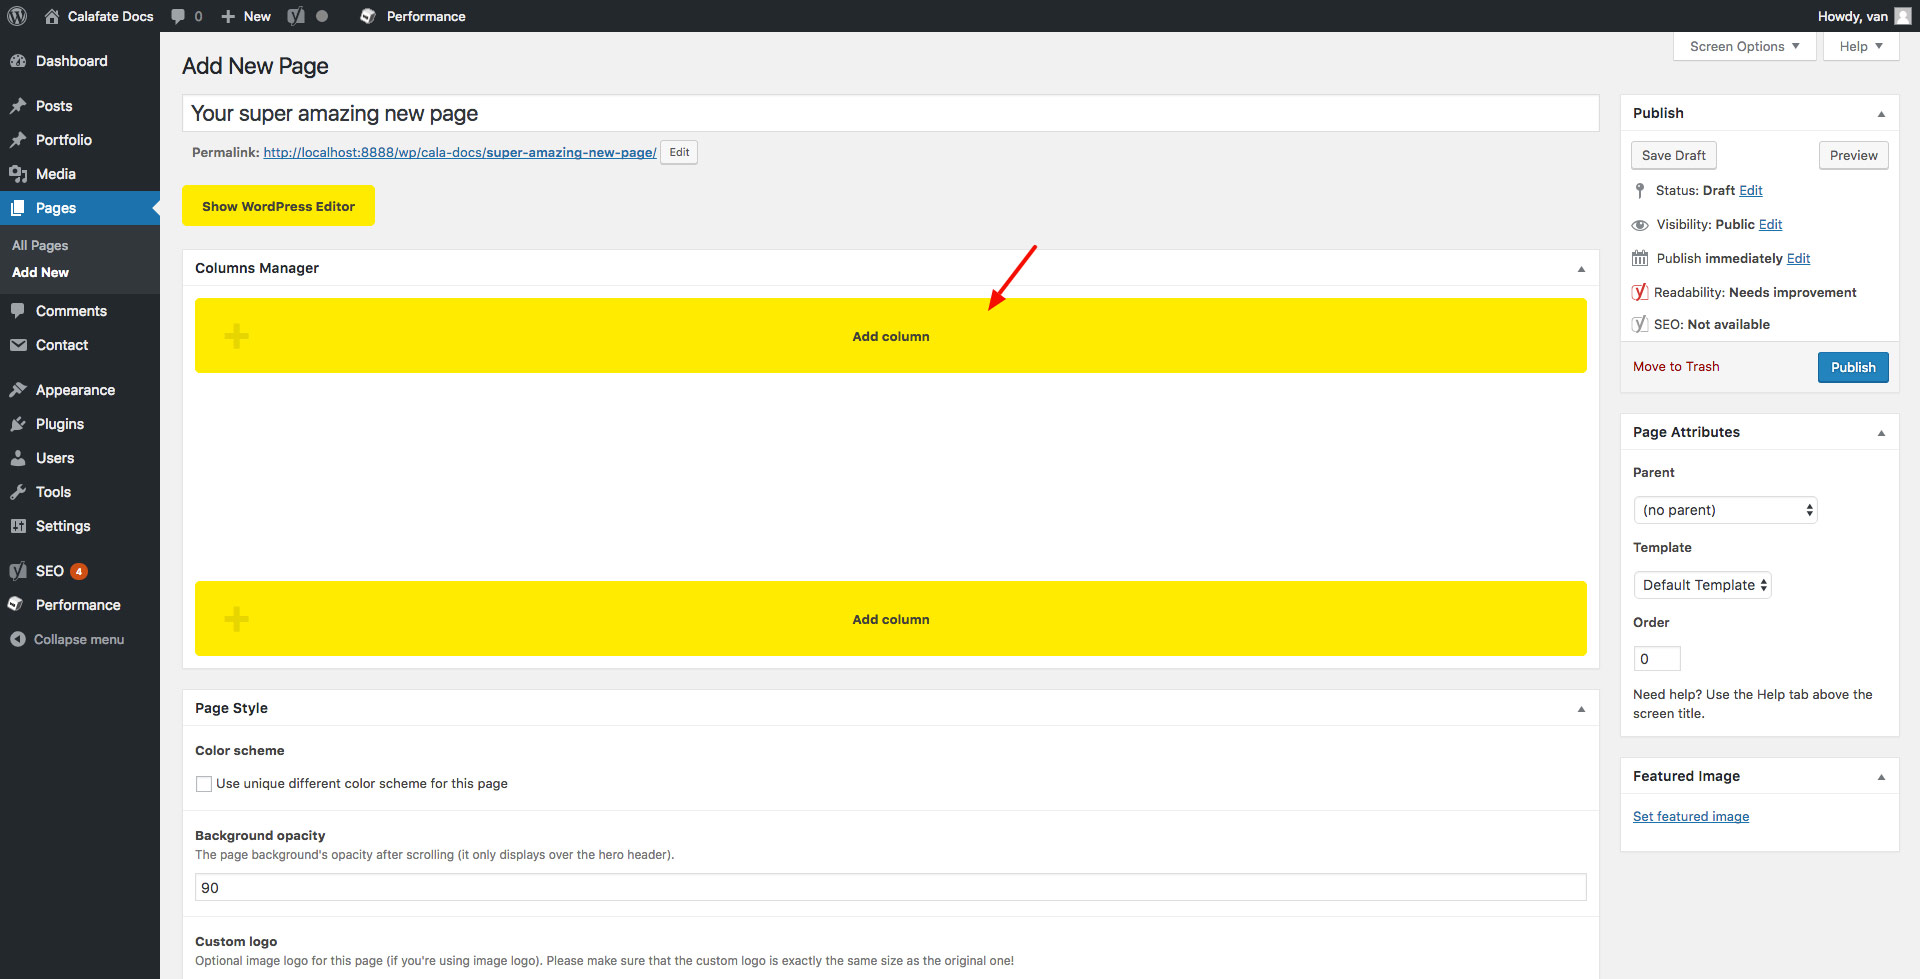
- Insert all of your remaining content in the content area. You can use the columns manager for this purpose.
- Write a few words excerpt (it is good for search results and SEO to have an excerpt, no matter what kind of content do you have in your post).
- Hit "Publish" and you're all done.

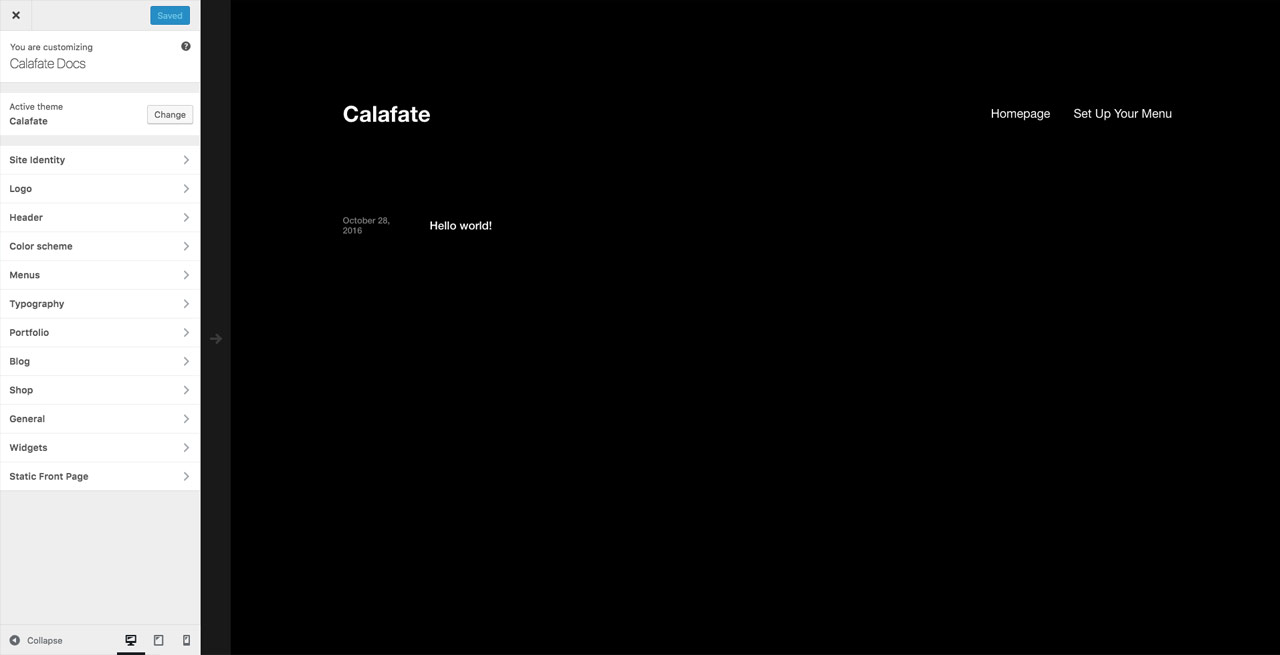
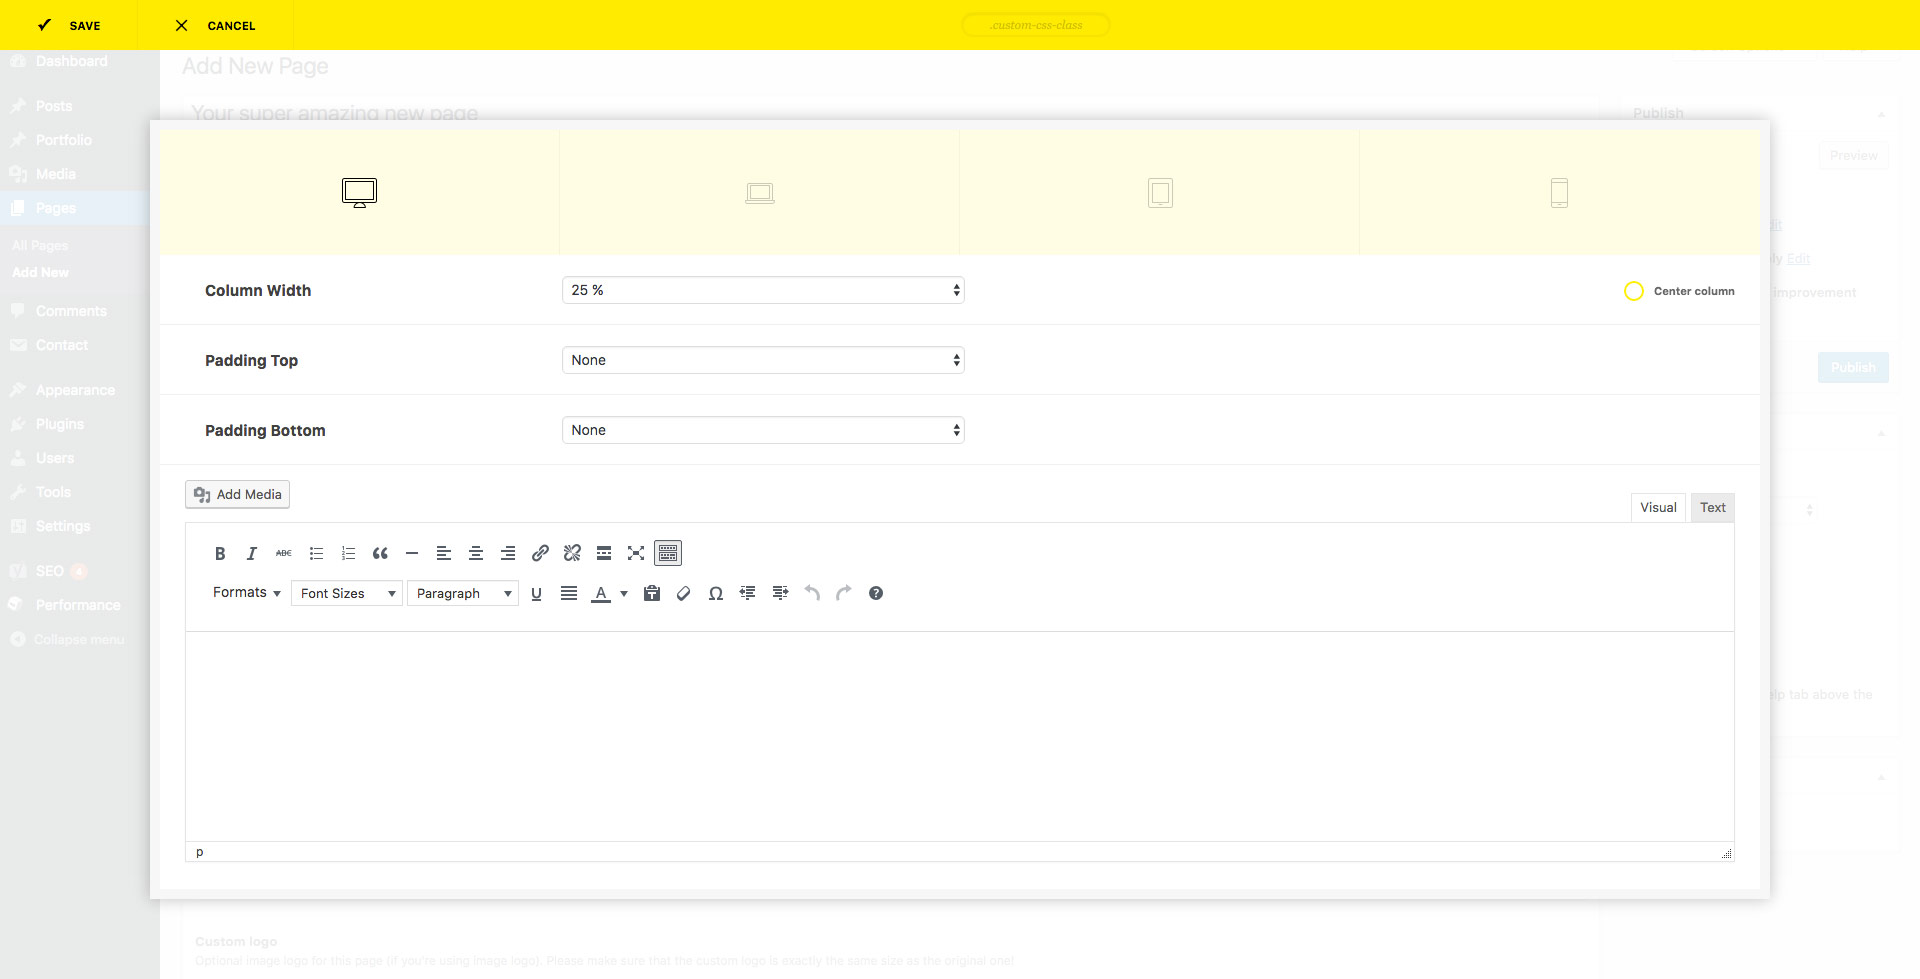
Page Style
Each page can have a unique style. The general color scheme will be applied everywhere in the website, but if you want a certain page to have a red background with yellow text, this is the area to edit. You can even add a custom image logo for each page.
Hero Header
The hero header is used in conjunction with the page style, because it is a static header which fades out, being replaced by the page's content and background color, allowing you to creative amazing layouts!
You can have one or more images for the header, a video, and also put a custom tagline over everything.
Page Templates
As you might already noticed, there are a few Page Templates available for you to use. Each template will configure your page to look and act in a different way.
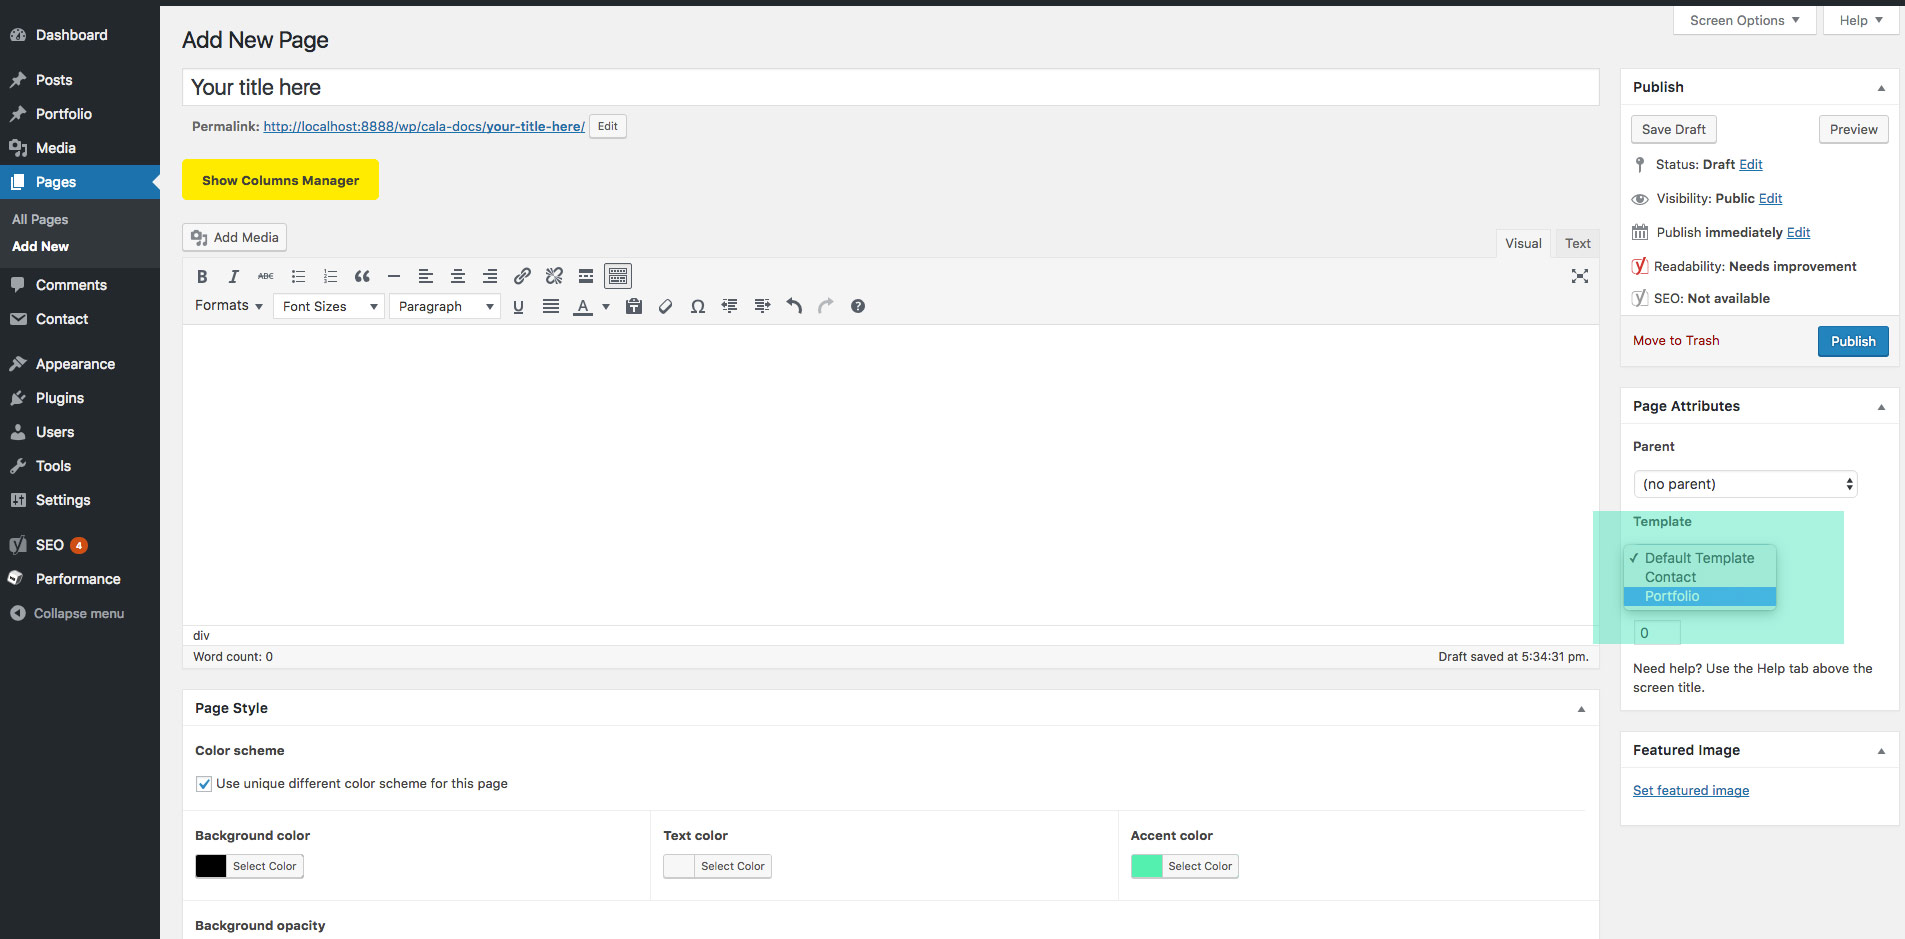
- Default Template — This is the default template and it outputs exactly the content of the page, without any modifications.
- Portfolio — This is a highly configurable page which outputs all the portfolio projects that you have on your site.
- Contact — This template creates a contact map, based on Google Maps API, which can be triggered and shown inside your page.
Shortcodes
The theme has a few shortcodes embedded in the shortcodes plugin, which give you additional tools in adding content to your website.
These need to be written manually, since they are only a few and with basic options. To add a shortcode, simply write it like a regular paragraph inside the text editor (wheter this is done with the theme's Page Builder or within regular content).
Twitter slider
[calafate_twitter_slider username="envato" no="3"]
This is the twitter slider, which allows you to share a number of your latest tweets inside a text carouel. Just put your username and the no (number) of tweets that you wish to be displayed.
Content slider
[calafate_content_slider]

  [calafate_content_slide]
    Calafate has transformed a complex project into a simple and smooth process.
  [/calafate_content_slide]

  [calafate_content_slide]
    Calafate has transformed a complex project into a simple and smooth process.
  [/calafate_content_slide]

[/calafate_content_slider]
This is the content slider. It allows you to create a basic text carousel, with unlimited slides..
Latest projects
[calafate_portfolio page_id="234" no="5" cat="art-direction"]
This is an easy shortcode which allows you to put portfolio items anywhere you wish. It's really simple, having only three properties:
- page_id - this is the most important! It refers to the original portfolio page, which contains all the style settings (thumbnails, grid, captions, colors, etc. - all portfolio properties are taken from this page).
- no - an optional parameter, it specifies how many items from the portfolio you want include.
- cat - another optional parameter, it allows you to define custom categories to be used instead of all categories from a given portfolio.
Latest posts
[calafate_blog style="minimal" posts_per_page="6"]
This is another easy shortcode which allows you to put blog posts items anywhere you wish. There are three style options:
- style - it can either be "minimal" or "grid", and it just clones the two already available blog page styles.
- posts_per_page - defines the number of posts that will appear (pagination is disabled obviously).
- el_class - (optional) custom class for further styling.
Then, you have 6 options which allow you to create a really complex query:
- category - write one or more category slugs, separated by commas (ex: "category1,category2")
- tag - same as above, but with tags (ex: "tag1,tag2")
- author - same as above, but with authors (ex: "author1,author2")
- include - if you want to include individual posts, you can use this to specify custom post id's (ex: "100,200")
- orderby - ordering method, it defaults to "date". Other options are "author", "title", "name" (post slug), "rand" (random order).
- order - ordering type, can be "ASC" (ascending) or "DESC" (descending)
All these query parameters are optional, case in which you'll have a shortcode showing your latest posts.
WordPress galleries
[gallery columns="5" link="none" size="full" ids="651,652,653" orderby="rand" css_class="hover-opacity grid-border"]
A bit more complex shortcode, this is the gallery shortcode. Initially, it can be created using the Add Media button, and then Create Gallery. Select your desired images, add captions, order them as you wish, choose a certain columns number, then insert the gallery into the page.
After the gallery is inserted, you can edit it in a few ways. For this, turn on the Text tab, so you can see the text shortcode. You will probably see something like this:
[gallery columns="5" ids="651,652,653,654,655,656"]
There are some parameters which you can add in order to change the gallerie's appearance (just like in the above example):
- size - it refers to the size of the thumbnail, not the size of the lightbox item. It should be manually set to "large" or "full", depending on your image's size and the number of columns that you want.
- link - it can either be "file" (in this case the ligthbox opens the bigger version of the uploaded image) or "none" (in this case the gallery is plain, without any actions available).
- css_class - you can add custom classes to the gallery object in order to further style it via css. There are also two classes available, which already have styles applied. One is "hover-opacity", which adds a simple hover effect on the thumbnails, and the other one is "grid-border", which adds a tiny 1px border between the thumbnails (fancy with transparent images). One last class "arrows" is for sliders, in case you want to replace the navigation dots with arrows.
- type - if present and set to "slider", it turns the grid gallery into an image carousel.
Here's an example of a slider gallery with arrows instead of pagination dots:
[gallery type="slider" css_class="arrows" ids="651,655,656"]
Lightboxes
Related to the gallery, there is also one other feature available, which needs to be explained here. It's the ligthbox.. By default, any image wrapped in a link can become a lightbox.. However, you can also use lightboxes in other ways - for example, you can add video iframes as links to images. Just add a link to an image, and make it point to a custom URL, which should be the iframe src. At the end, give the link the classes: fancybox fancybox-iframe.
Forms
Calafate doesn't have any dedicated form builder, because it offers you styling to use your own form plugins. We recommend Contact Form 7, as it's free & easy to use.
There are a few elements which you can use in order to style the form.. Below you have an example on how we built the contact form in our demo:
<div class="form-columns grid">

   <div class="grid__item one-half">
      [text* your-name placeholder "Name"]
   </div>

   <div class="grid__item one-half">
      [email* your-email placeholder "Email"]
   </div>

   <div class="grid__item one-whole">
      [textarea* your-message placeholder "Message"]
   </div>

   [submit "Send"]

</div>
As you can see, we've wrapped all the fields inside a div with some classes, then each field has it's very own container, again, with a class specifying that it's a grid item, and one class specifying the actual width.
Using this example, you can create form as complex as you desire. Here's another:
<div class="form-columns grid">

  <div class="grid__item one-third">
    [text* your-name placeholder "Name"]
  </div>

  <div class="grid__item one-third">
    [email* your-email placeholder "Email"]
  </div>

  <div class="grid__item one-third">
    [select menu-193 "Male" "Female"]
  </div>

  <div class="grid__item one-half">
     [checkbox checkbox-262 "I agree with all the terms."]
  </div>

  <div class="grid__item one-half">
     [radio radio-770 default:1 "I'm a robot" "I'm not a robot"]
  </div>

  <div class="grid__item one-whole">
    [textarea your-message placeholder "Message"]
  </div>

  [submit "Send"]

</div>
The last example is about MailChimp integration. For this purpose, you need an extra plugin, called Contact Form 7 MailChimp Extension.
After installing this plugin you will see a new tab when creating forms.. In that tab you need to insert MailChimp details, such as your API key & subscription list id. Here's an example MailChimp form:
<div class="cf-7 mailchimp">

  <div>
    [text* name placeholder "Name"]
    [email* email placeholder "Email"]
  </div>

  <small>Stay updated in your mailbox!</small>
  [submit "→"]

</div>
2.3 Adding Projects
The process of adding projects is quite similar to adding posts:
- Go to Portfolio → Add New
- Enter a title
- Select a post category.
- Choose a featured image. If you don´t add any, this could break the grid.
- Setup the hero header for the current post (optional, of course).
- Insert all of your remaining content in the content area. You can use the columns manager for this purpose.
- Write a few words excerpt (it is good for search results and SEO to have an excerpt, no matter what kind of content do you have in your post).
- Click "Publish" and you're all done.
— Video building a more complex layout
2.3.1 Setting up portfolio page
As you'll see in the actual portfolio page, there are lots of options to display the portfolio. You can have a fixed masonry grid, a flexible one, or even thumbnails resized all the same, based on a certain aspect ratio.
The fixed masonry and regular grids are pretty easy to understand. In this case, just upload really large images (even 1920px wide images are good) and let the theme do all the hard resizing. You will also be able to easily play with the available options.
The flexible grid is the most interesting one, and it works just like a regular masonry grid, the only difference being that you can "break it" with thumbnails that are larger than the regular columns number.
First of all, you need to choose the number of columns you want to work with. The highest the number, the greater the effects that you can achieve. So let's start with 6 for example. If you view your portfolio page, you'll see a basic 6 columns grid.
Now, for the fun part, choose a project, and edit it. Inside, you'll see field called Unique Project Settings. There you can choose a multiplier for your column. If you choose 3 for example, this project will have the size of 3 columns instead of 6..
This is the basic idea and it's awesome to play with it. You have to remember that images keep their ratios, so for a perfect grid you'll need perfectly resized images. The easiest way is to upload perfect ratios, like 1:1, 2:1, 3:2, etc.. Below you have an example grid.
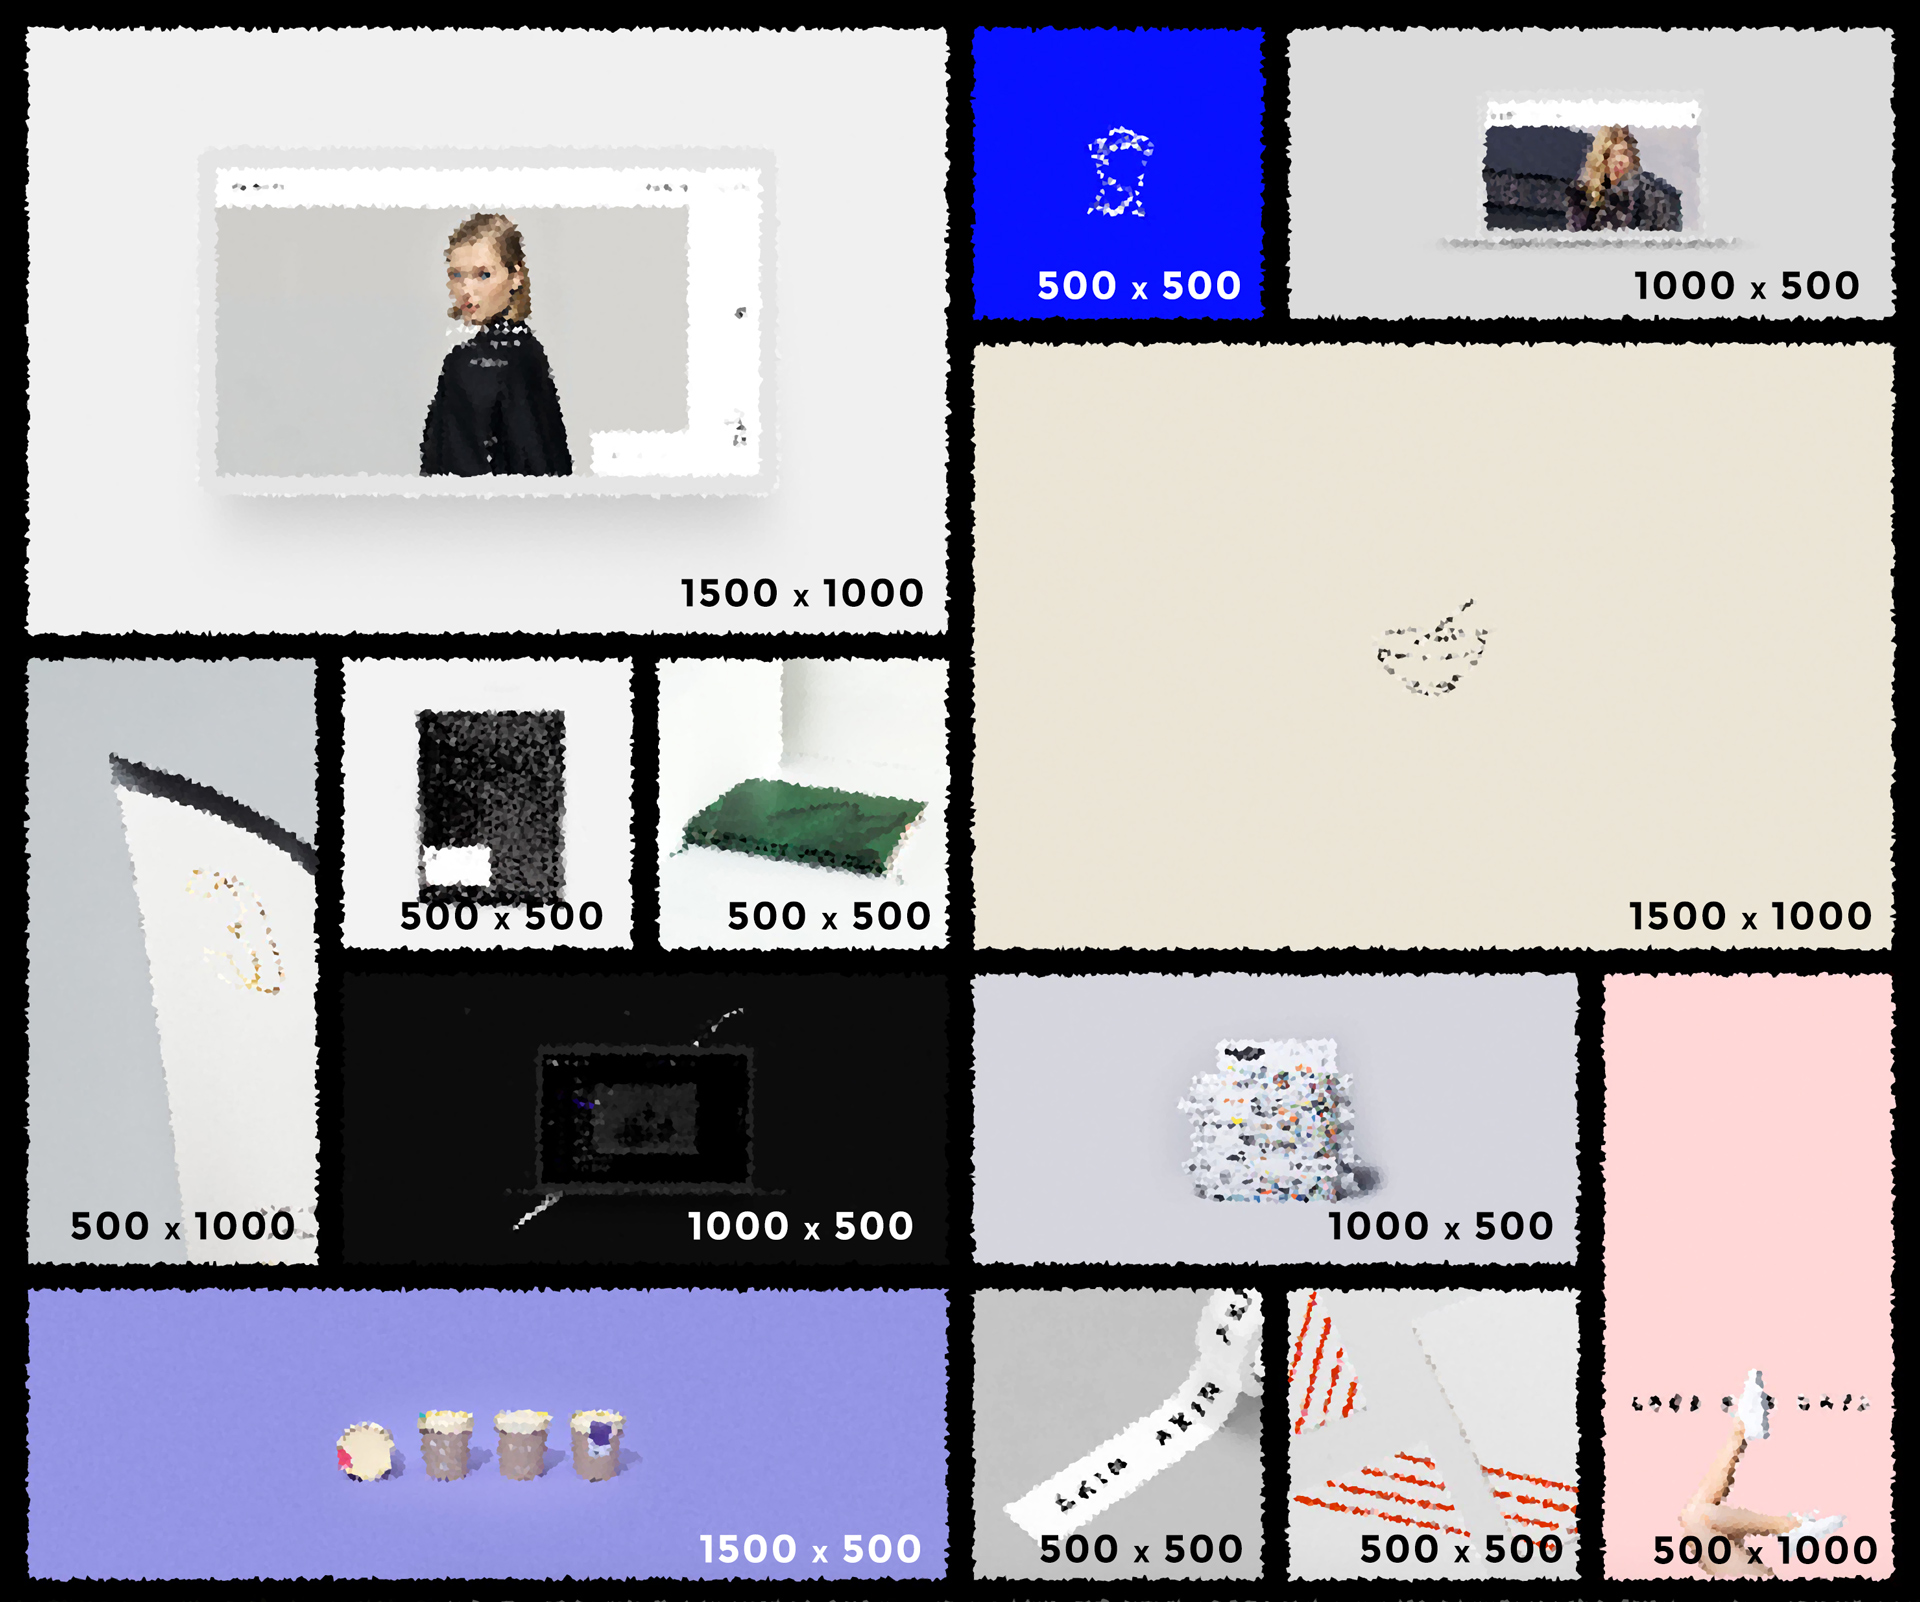
The minimum width for a thumbnail is 480px (this is for large 4K monitors), but in the example we've used 500px, for an easier understanding. Resizing your thumbnails this way will give you the sharpest grid. Please note that even the slightest mistake, like 500 x 501px, will give you bad results in the grid.
Ordering your projects
The easiest way to sort your projects is by using the popular Post Types Order plugin.
2.3.2 Unlimited portfolios
The latest notable feature is the unlimited portfolios one. This allows you to create unlimited portfolio pages, each with it's own projects, settings, navigation, categories, etc..
- First of all, create two separate portfolio pages, we'll call them A & B.
- Create four projects under two separate categories, let's say projects a & b under category 1, and c & d under category 2.
- Under each individual project you have the "Unique portfolio page" setting. There you can choose a parent page for each project - so simply assign projects a & b to page A, and c & d to page B.
- Then inside each portfolio, choose the categories which include the projects that you've assigned to that portfolio page - assign category 1 to page A and category 2 to page B.
- That's it! If you've done everything right, you should have two totally separate portfolio pages, each with it's own settings, color scheme, layout, projects & navigation between projects.